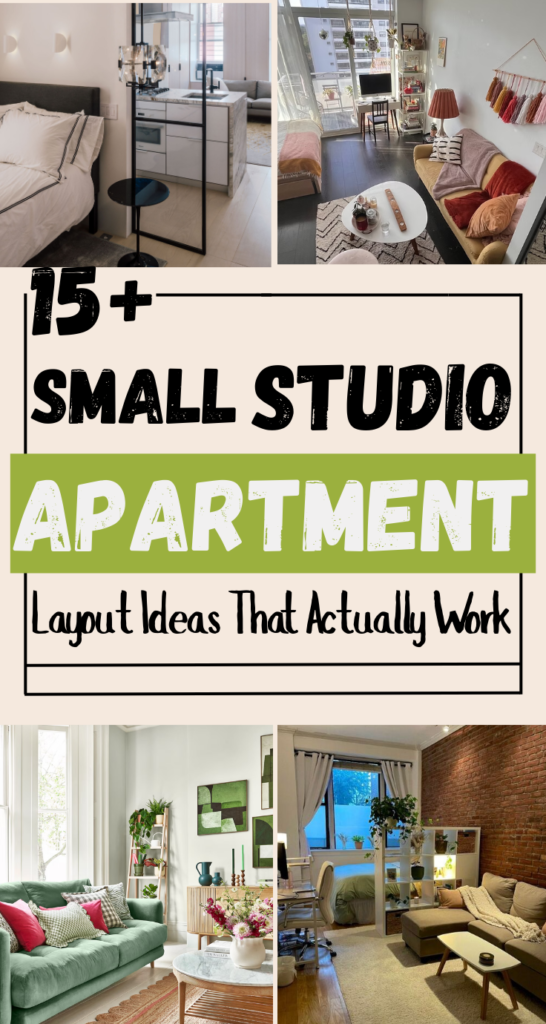
I live in a tiny studio apartment in New York City, and if you’ve ever seen NYC apartments in real life—not on Instagram—you know how small they can actually be.
When I first moved in, I was excited but also overwhelmed. The apartment had everything I needed on paper: a kitchen, a living area, a sleeping space, and a bathroom.
But once my belongings came in, the reality hit hard. The space felt tight, cluttered, and honestly a little suffocating.
At the beginning, I made all the common mistakes. I bought furniture that looked good online but felt bulky in real life. I didn’t think about layout—I just placed things where they “fit.”
My bed took over the room, the kitchen counters were always crowded, and there was no clear separation between relaxing, sleeping, and working.
It felt like I was living in one big messy room instead of a home.
Over time, I realized that tiny studio living isn’t about fitting more things in—it’s about making better decisions.( So, I sell my bulky furniture slowly and start buying smart storage furniture.)
I started observing how I moved through the apartment, where clutter naturally collected, and which areas felt uncomfortable. Slowly, I reworked the layout.
I created zones without building walls. I learned how vertical storage can completely change a space. I replaced single-use furniture with multi-functional pieces and let go of things I didn’t truly need.
Now, my studio apartment feels calm, organized, and surprisingly spacious—even in the middle of NYC.
The kitchen works efficiently, the living area feels open, the sleeping space feels private, and everything has a purpose.
In this post, I’m sharing the exact layout ideas and space-saving hacks I used, so you can decorate your small studio apartment in a way that actually supports your daily life—not just looks good in photos.
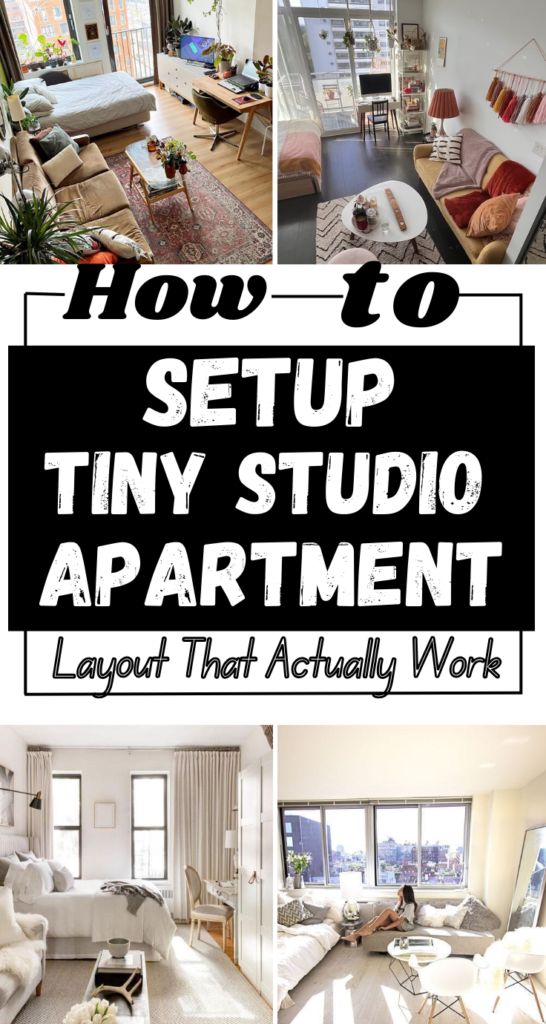
1. The Foundation (Smart Tiny Studio Apartment Layout)
Before buying décor or furniture, the layout should be clear in your mind. A well-planned layout helps you mentally divide the apartment into “zones” without building walls.
A tiny studio apartment usually doesn’t have walls separating rooms, so the layout is about creating functional zones rather than separate rooms. Once I understood this, everything became easier.
The Core Layout Zones of a Tiny Studio Apartment
Even in the smallest studio, your apartment naturally breaks down into these areas:
- Entry / Transition Area
- Kitchen Area
- Living Area
- Sleeping Area
- Bathroom Area
The key is to define each area visually and functionally so your home feels organized, not chaotic.
One thing I want to be very clear about—especially if you’re renting your studio apartment like I am in NYC—is that all the ideas and hacks I’ve shared are renter-friendly.
I don’t believe in permanent changes, drilling holes everywhere, or spending money on upgrades you can’t take with you when you move.
When you live in a rental, flexibility matters. Your home should feel personal, functional, and comfortable without risking your security deposit.
1.Entry / Transition Area
Most studio apartments don’t have a proper entryway, but even a small corner near the door plays an important role.
In my studio, I noticed that clutter always started right at the entrance—shoes, bags, keys, jackets. Once this area was messy, the whole apartment felt messy.
Hacks That Are Well Worked in Entry Area:
Wall hooks for bags, jackets, and keys (no floor space wasted).
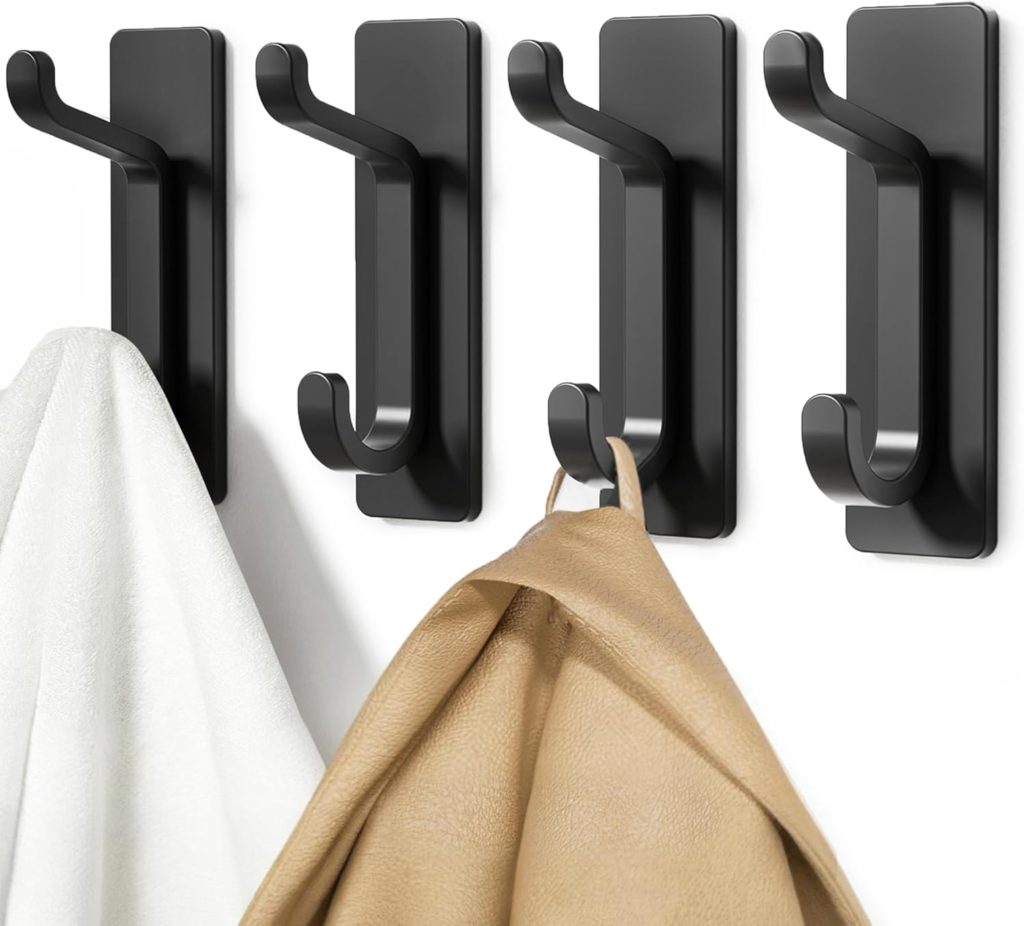
Slim shoe rack or vertical shoe cabinet.

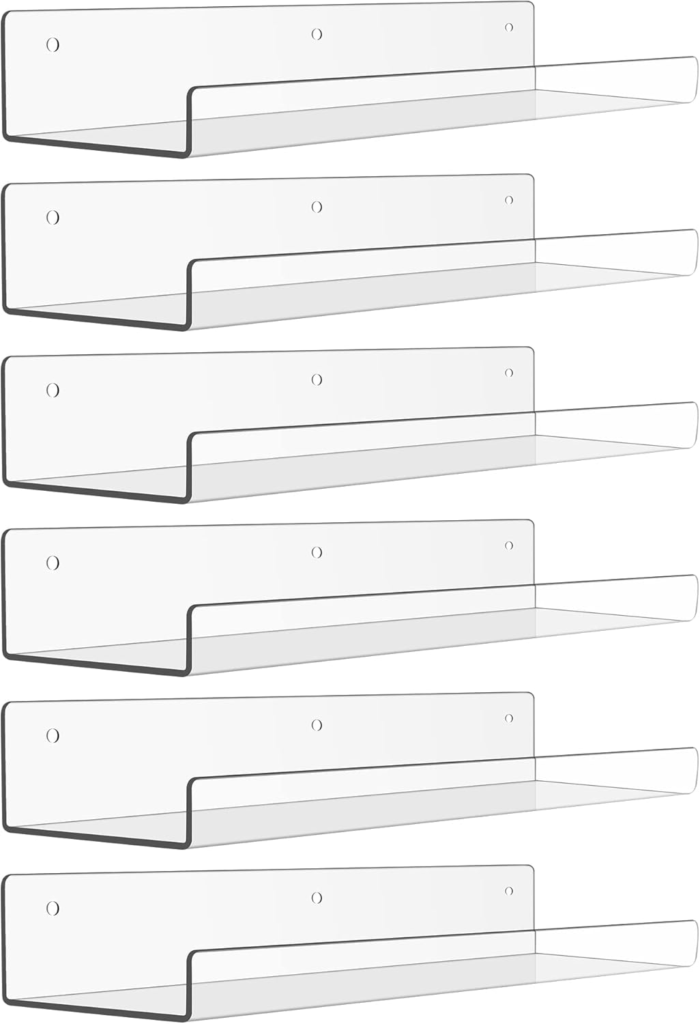
Floating shelf for everyday items like wallets and sunglasses.
2. Kitchen Area: Small, Efficient, and Visually Clean
In a studio apartment, the kitchen is usually the smallest space—but it has the biggest impact. In my NYC studio, the kitchen is part of the main living area, which means if it looks cluttered or chaotic, the entire apartment feels the same way.
Because I rent, I couldn’t renovate or install custom cabinets. Everything I did here is removable, affordable, and practical.
The fastest way to make a tiny kitchen feel larger is to clear the countertops. In a small studio, even one crowded counter can make the whole apartment feel tight.
What I keep on my counter:
- Only daily-use items (coffee maker or kettle)
- One small tray to keep things visually organized
Everything else goes into cabinets, shelves, or drawers.
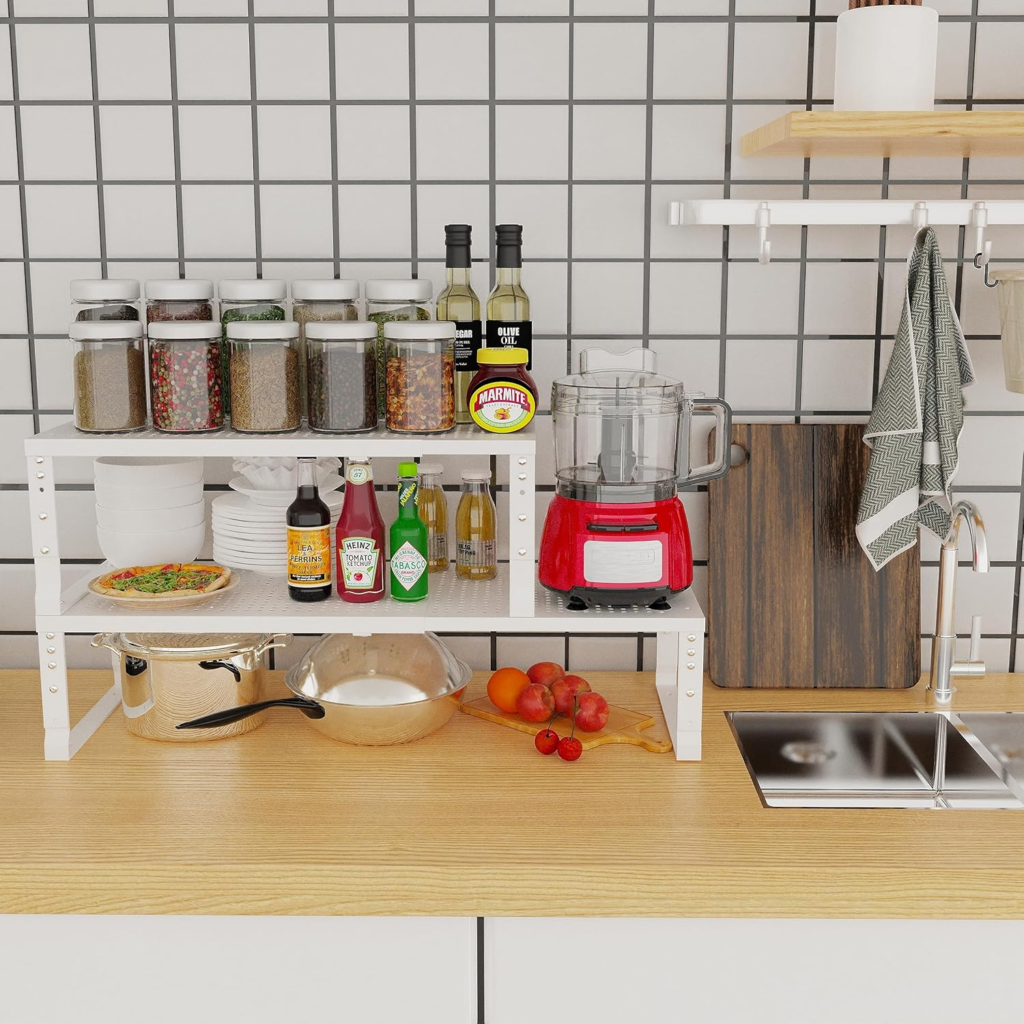
Renter-friendly Kicthen Makeover:
Use Open shelves for plates, mugs, and jars
Over-the-fridge storage Or Magnetic Rack Like This for rarely used items
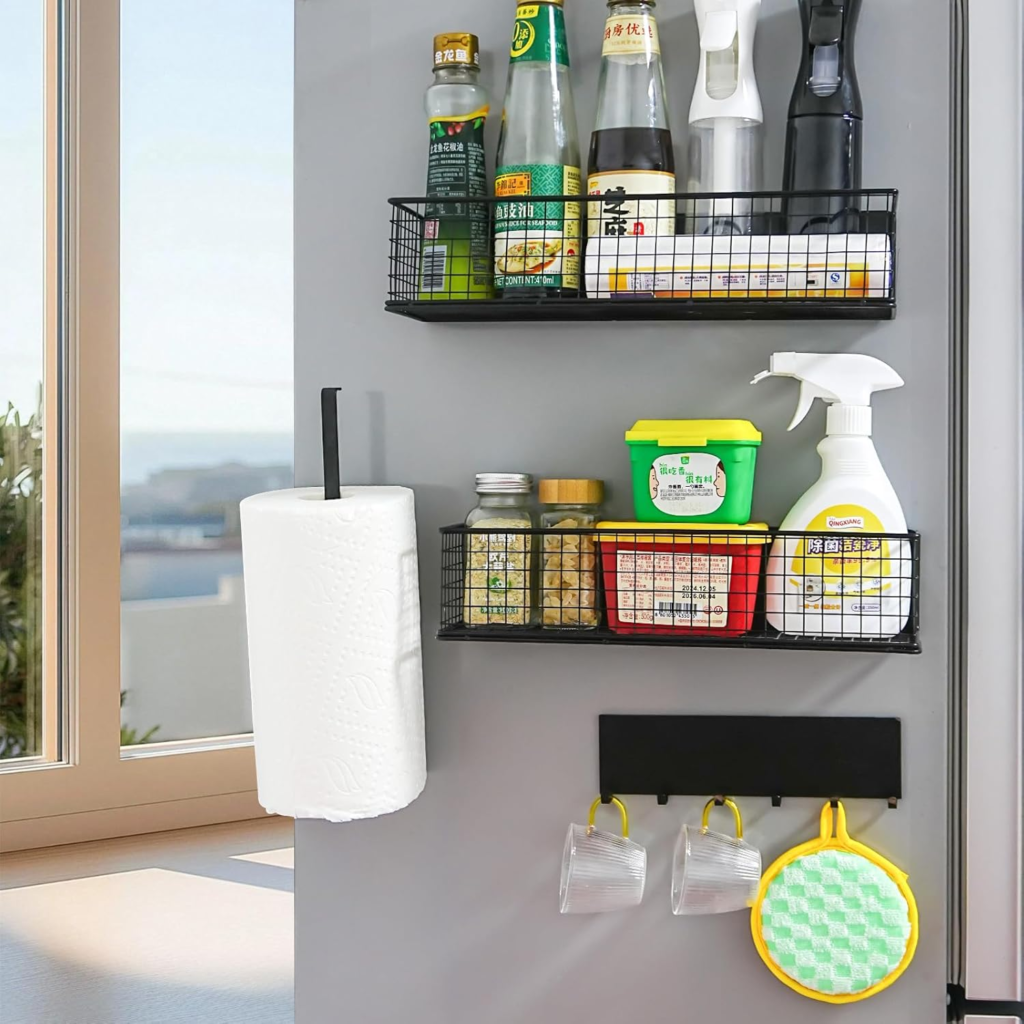
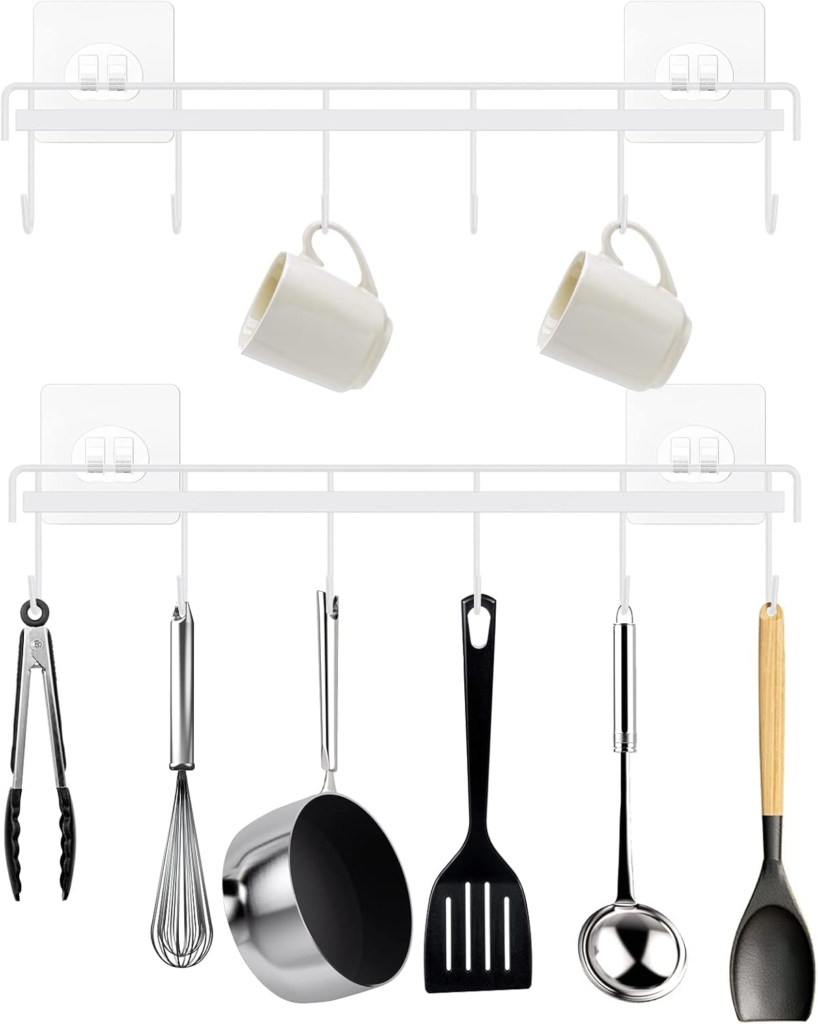
Hanging rails for utensils and towels
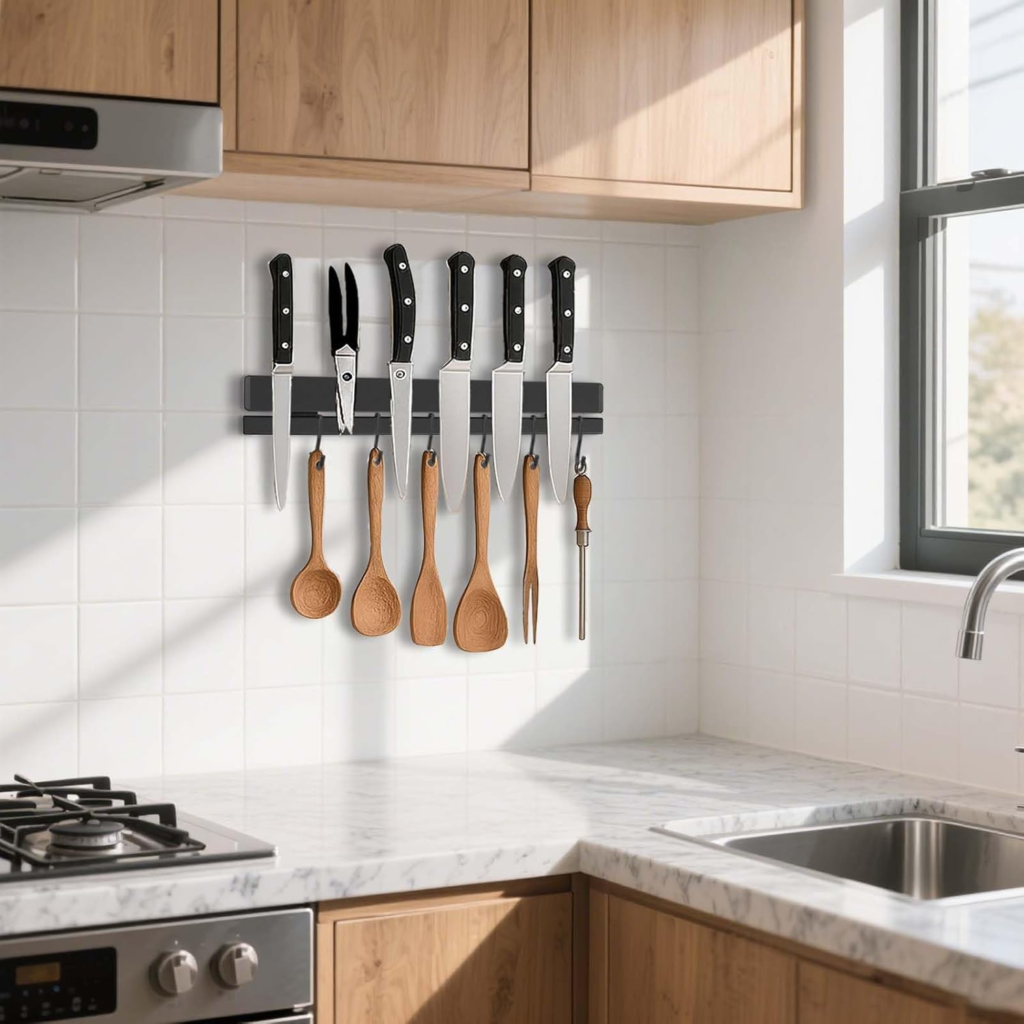
Magnetic strips for knives or spice jars
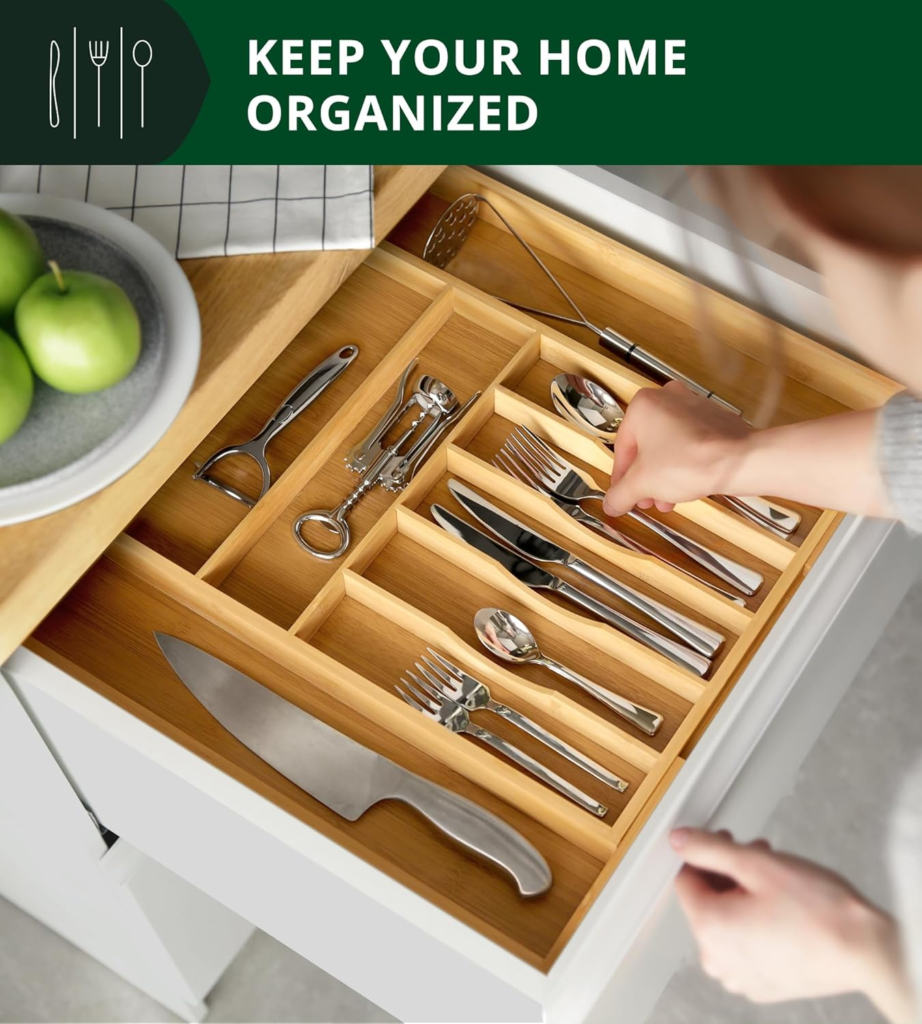
Smart Storage Inside Cabinets:
Tiny cabinets can still hold a lot—if they’re organized correctly.
Storage hacks I rely on:
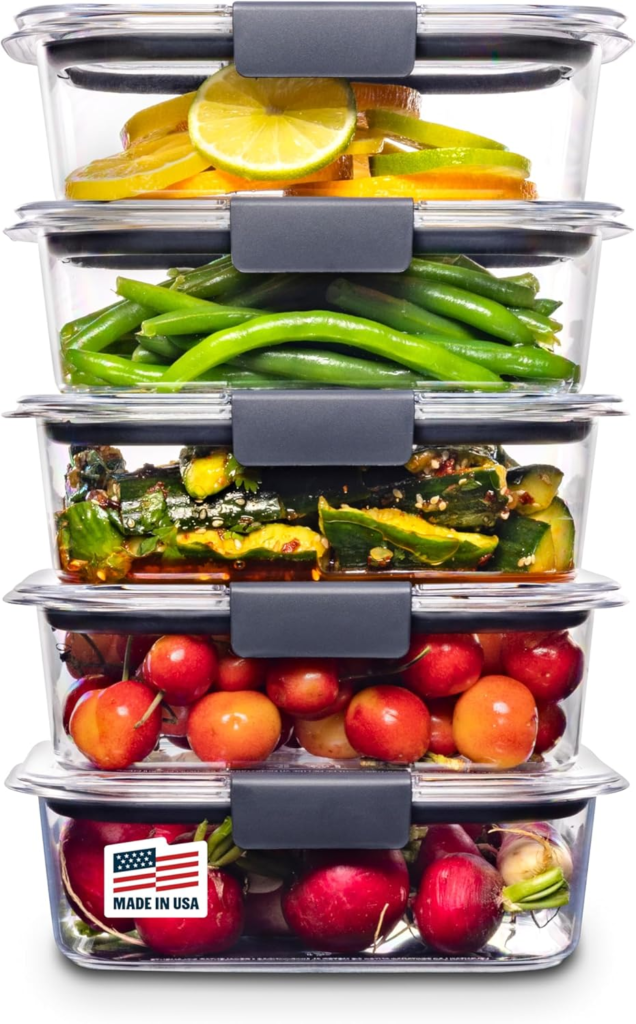
- Expandable Adjustable Stackable Kitchen Organizer
- Vertical organizers for cutting boards and baking trays
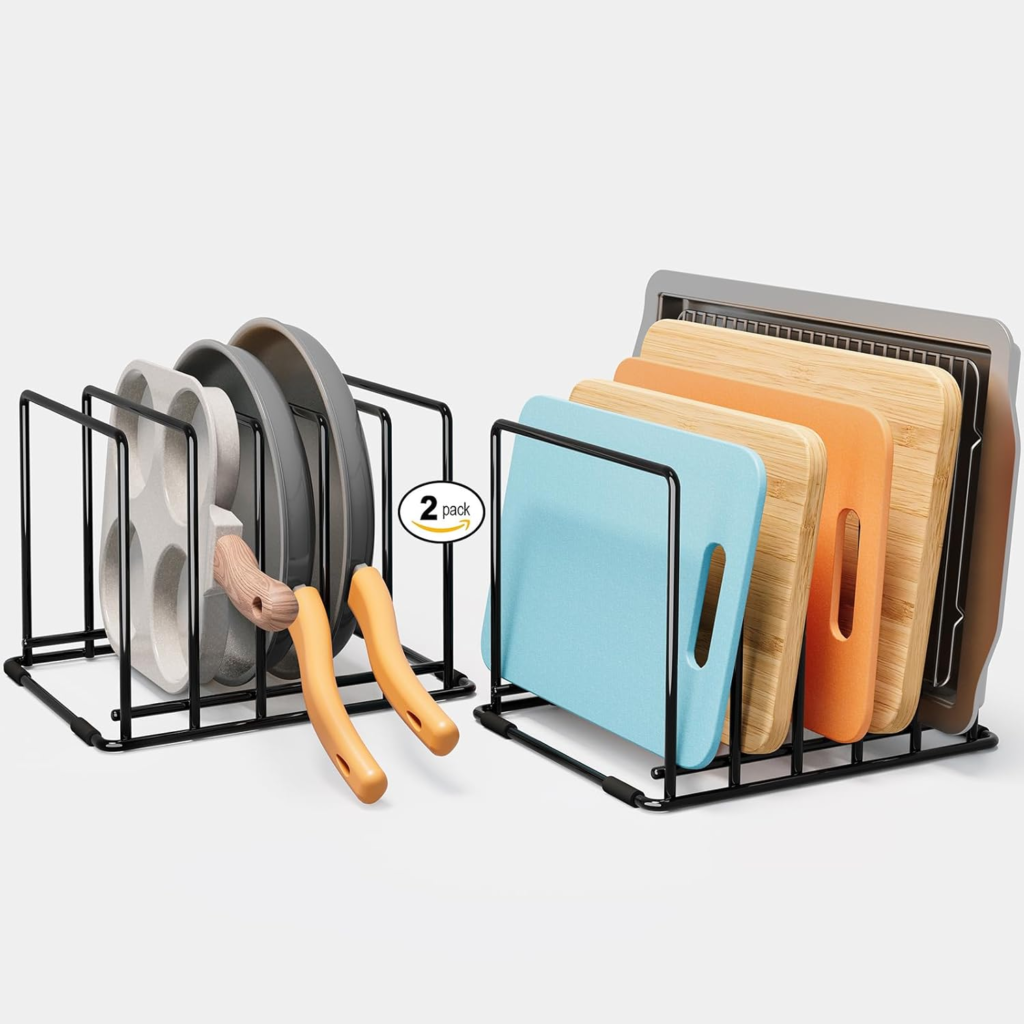
This prevents overcrowding and makes everything easy to access
Dining Without a Dining Room
Since studios rarely have space for a dining table, the kitchen often doubles as one.
Renter-friendly dining solutions:
- Fold-down wall-mounted table
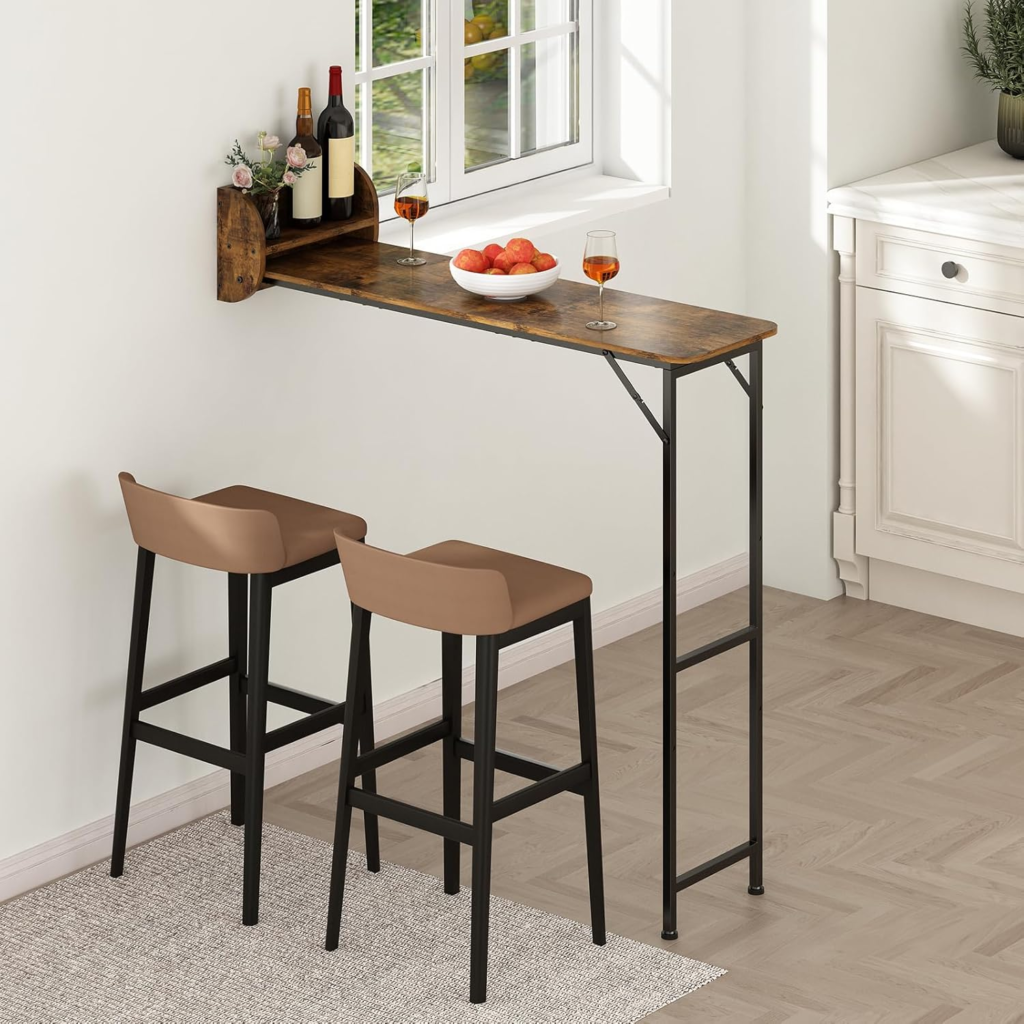
- Slim bar table with stools
- Pull-out counter extension
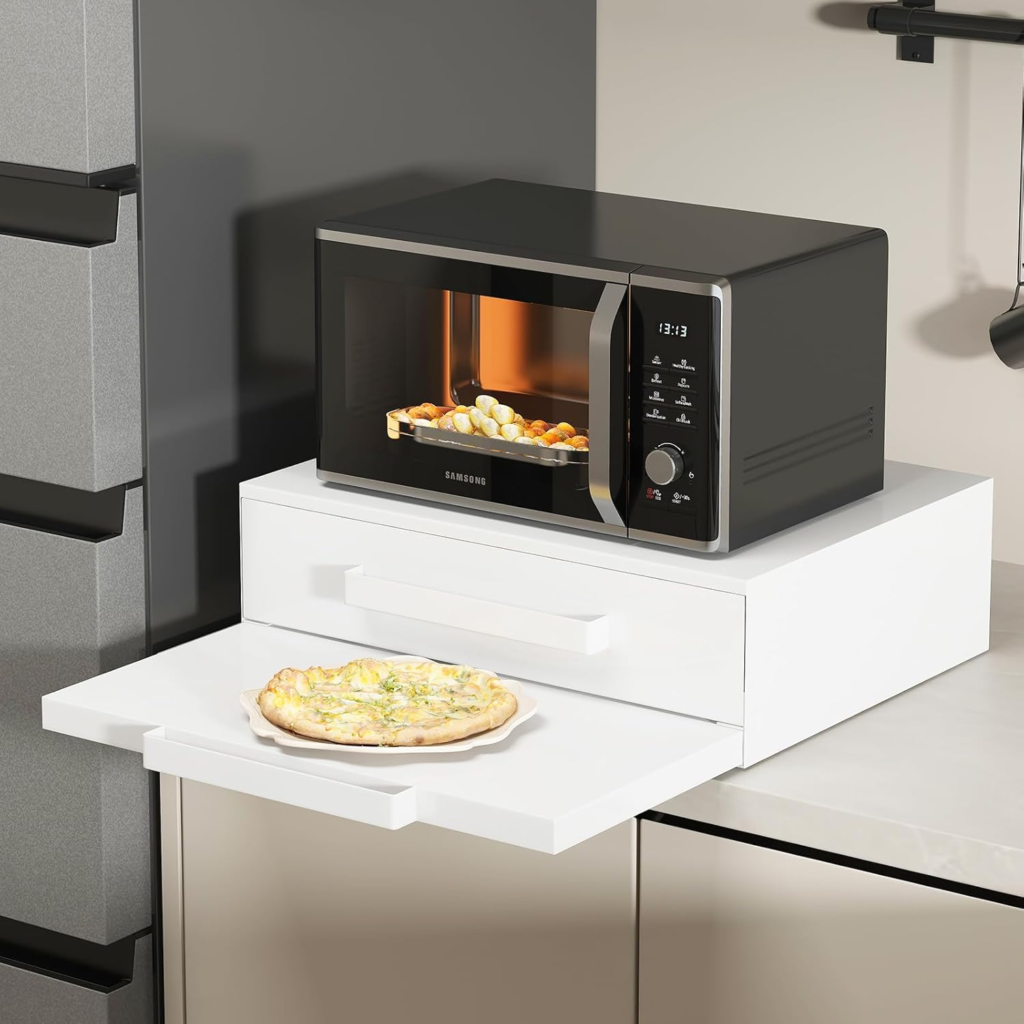
These options disappear when not in use, keeping the kitchen area open.
3. Living Area: Comfortable Without Feeling Crowded
In a tiny studio apartment, the living area is where everything overlaps.
It’s where you relax, host guests, scroll on your phone after a long day, sometimes work, sometimes eat—and in my NYC studio, it’s also only a few steps away from the bed and kitchen.
If this area isn’t planned well, the entire apartment feels chaotic.
Start With Movement, Not Furniture
Before decorating, I paid attention to how I moved through the space—where I walked, where I naturally stopped, and where things felt tight.
What I made sure of:
- Clear walking paths from the door to the kitchen and bathroom
- No furniture blocking windows or natural light
- Enough space to move around without constantly shifting things
Once movement felt easy, the space instantly felt bigger—even without changing anything else.
Decorating Tips:
- Use a rug to define the living zone.
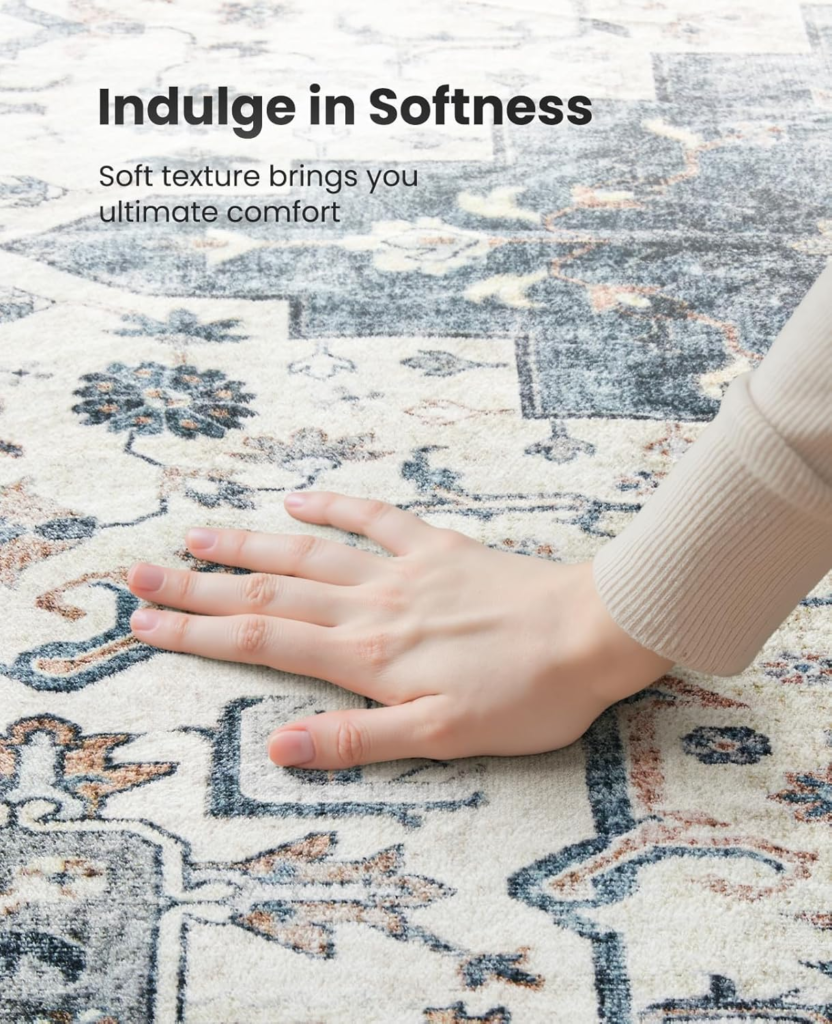
- Add one statement piece (art, lamp, or cushion) instead of many small ones.
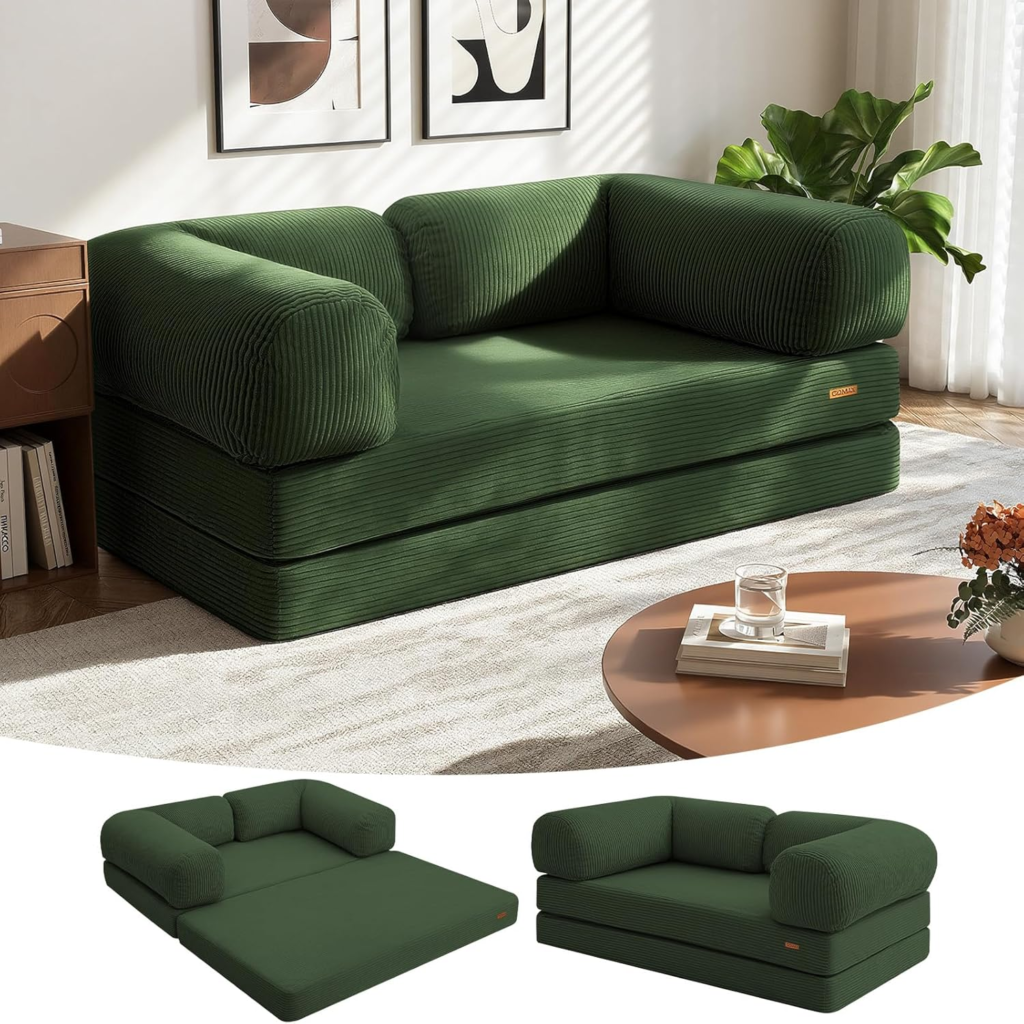
Storage-Friendly Furniture
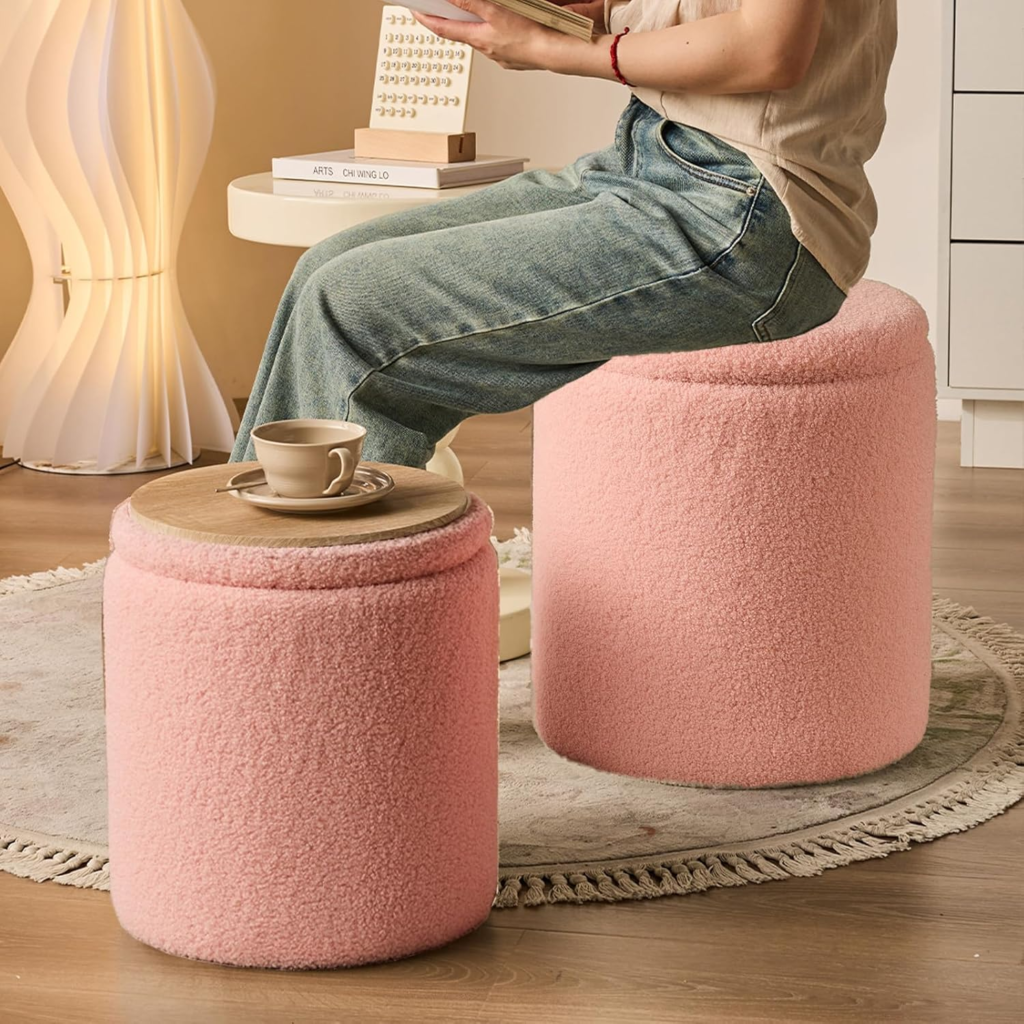
- Nesting tables instead of a bulky coffee table.
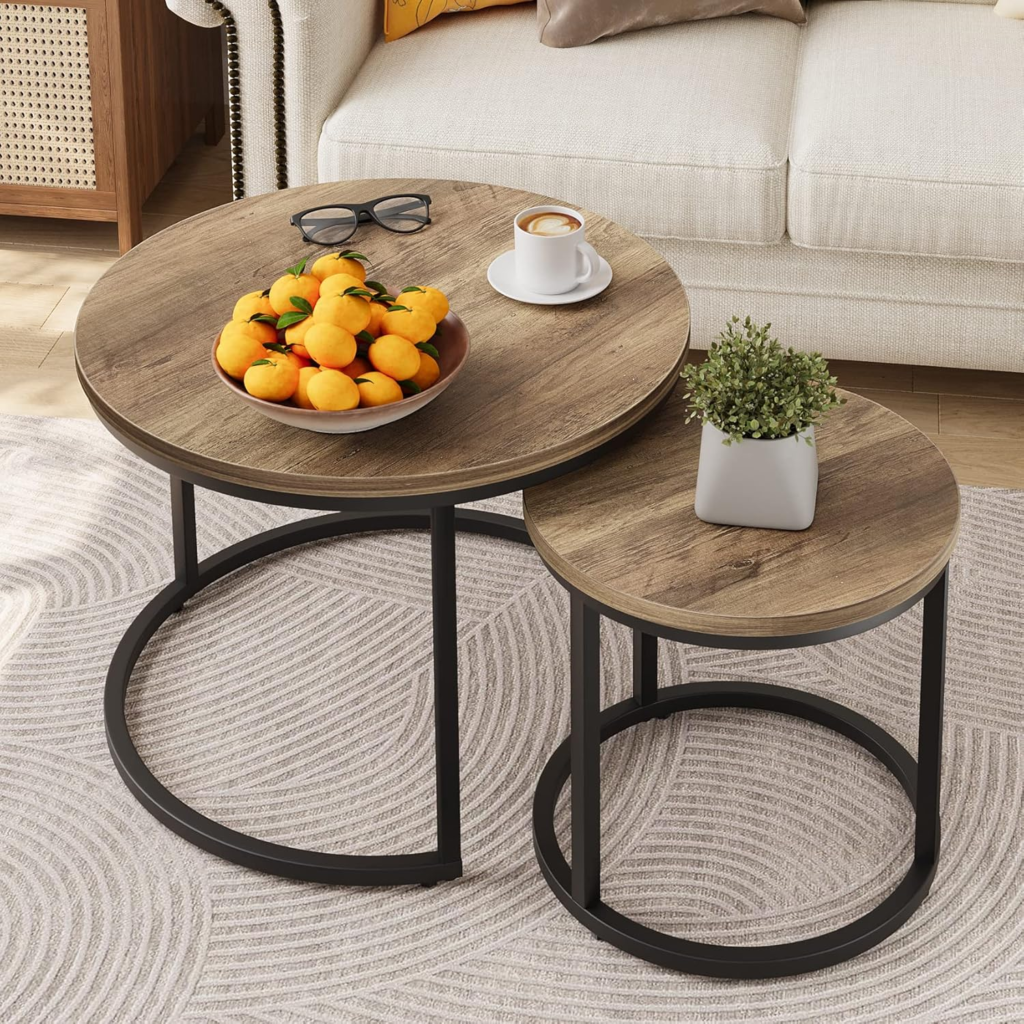
- Wall-mounted TV to free floor space.
- Sofa Side Shelf for books or décor.
Space-saving mindset:
Furniture should support movement, not block it.
4. Sleeping Area: Cozy, Private, and Clutter-Free
In a studio apartment, the sleeping area is the most personal space you have—even though it shares the room with almost everything else.
When I first moved into my NYC studio, my bed was just… there. No separation, no intention.
It made the entire apartment feel like one giant bedroom, and honestly, it was hard to relax or even sleep properly.
What changed everything was learning how to create a sense of privacy and calm without building walls.
Place the Bed Where It Feels Protected
Bed placement matters more than most people realize. In a studio, putting the bed right in the center or directly facing the door makes the space feel exposed and messy.
What worked best for me:
- Placing the bed near a corner or along a wall
- Keeping it away from heavy foot traffic
- Positioning it near a window (if possible) for light and airflow
This simple shift made the sleeping area feel grounded and separate, even without physical barriers.
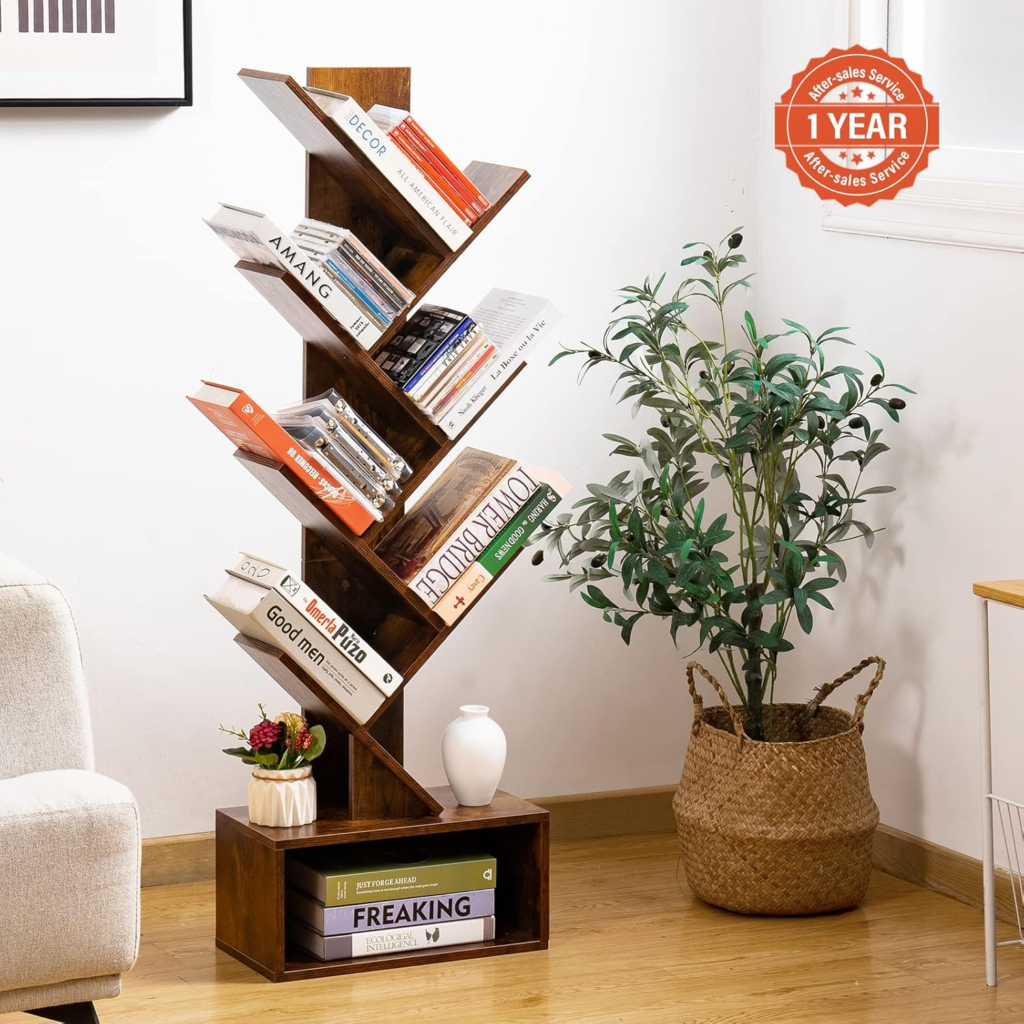
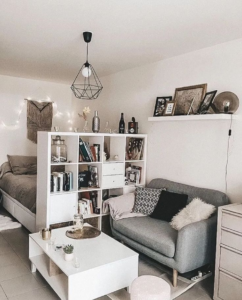
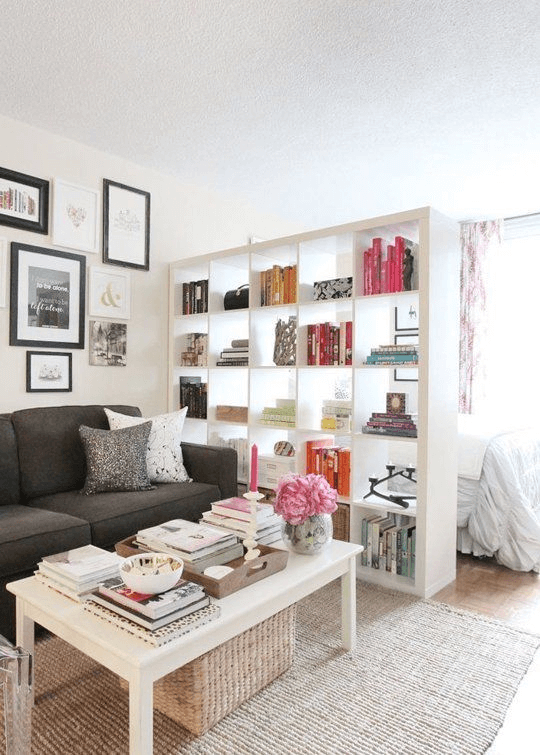
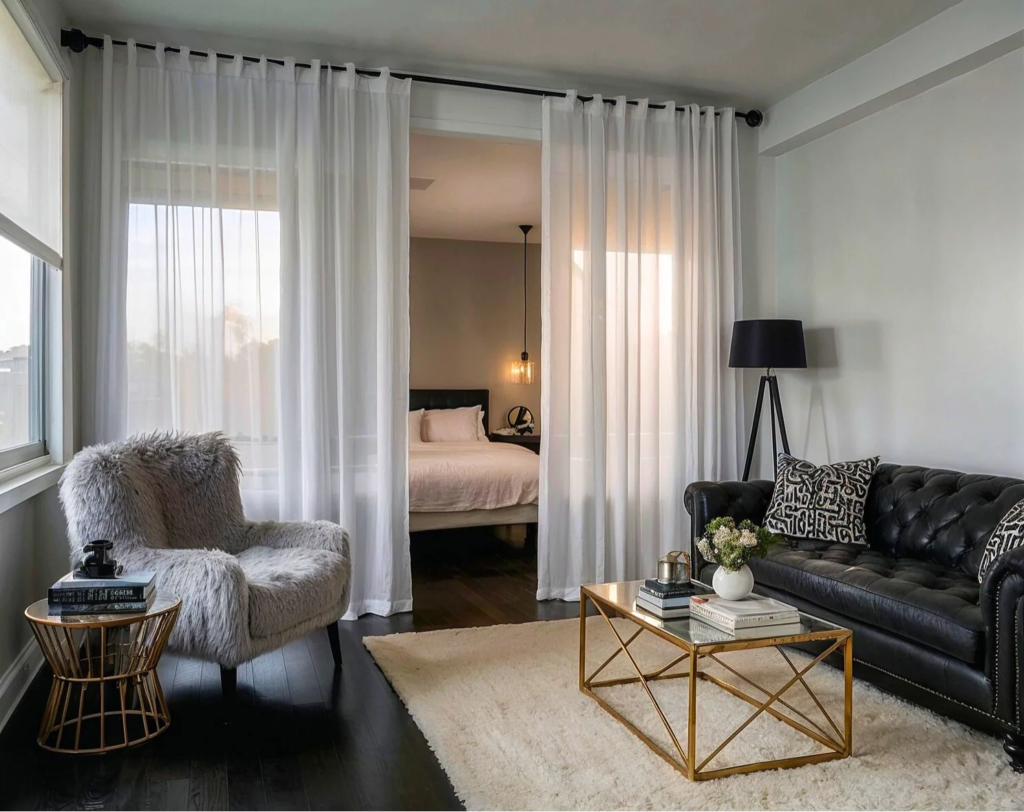
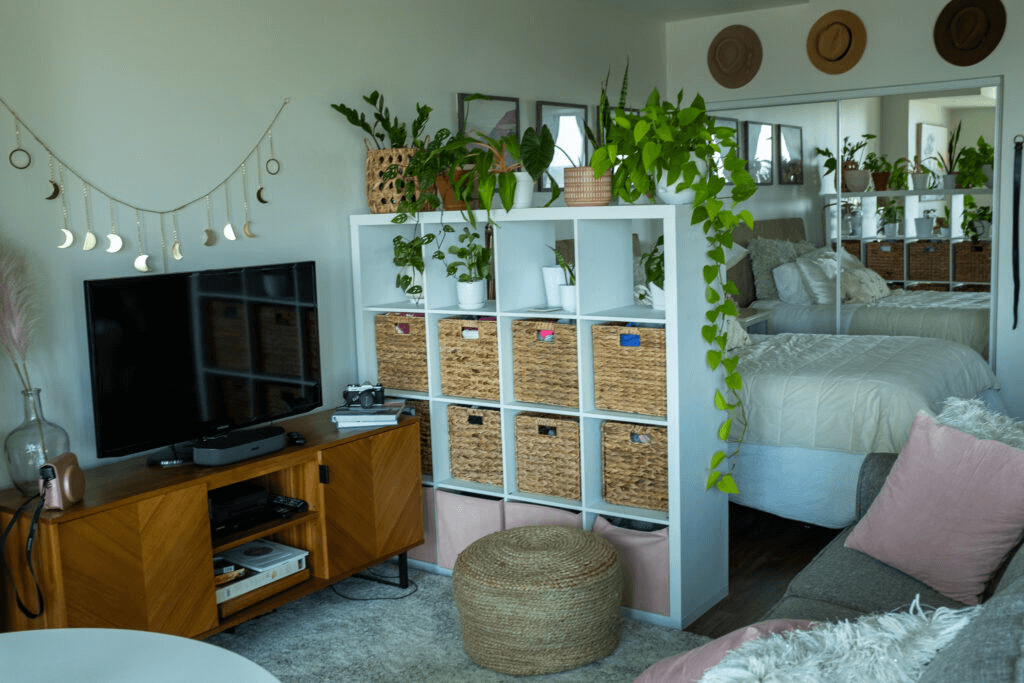
Since walls aren’t an option in most rentals, I used visual dividers to give the bed its own identity.
Renter-friendly options that work beautifully:
- Open bookshelf placed at the foot or side of the bed
- Light curtain on a tension rod
- Folding screen that can be moved anytime
The key is choosing something that creates separation without blocking natural light. The goal isn’t to hide the bed—it’s to make it feel like its own zone.
You Can Try These Ideas:
5. Bathroom Area:
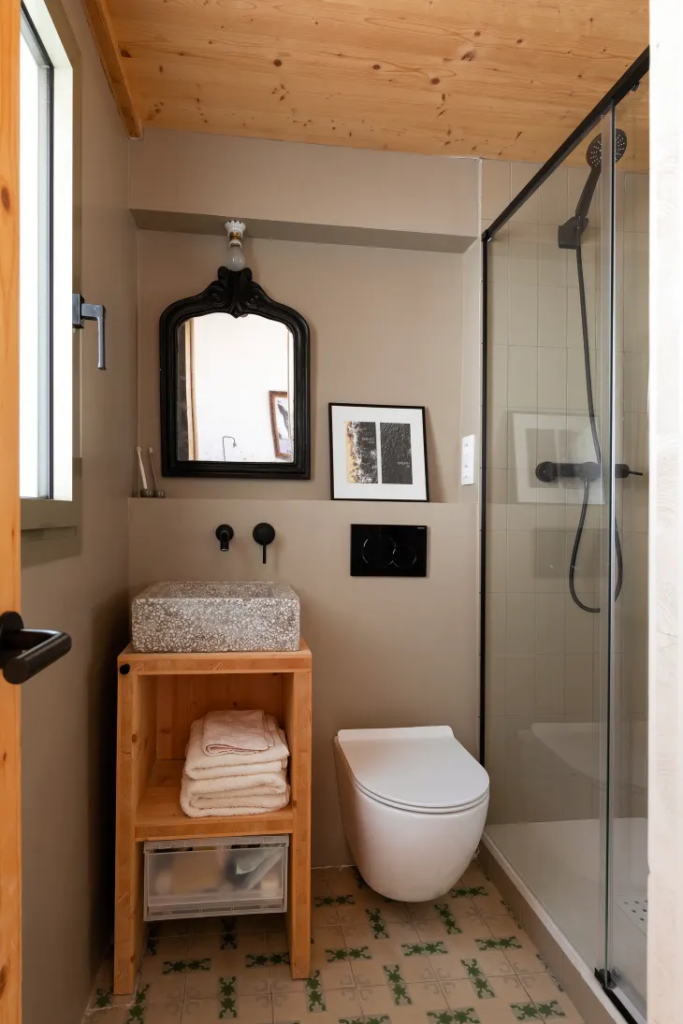
In a studio apartment, the bathroom is usually the only fully enclosed space, but that doesn’t mean it feels spacious by default—especially in NYC like cities.
In a tiny bathroom, even one extra item can make the space feel tight. I made sure the layout stayed as open as possible.
What helped most:
- Keeping the floor clear
- Avoiding bulky storage units
- Making sure doors and drawers open fully
When movement feels easy, the bathroom automatically feels large.
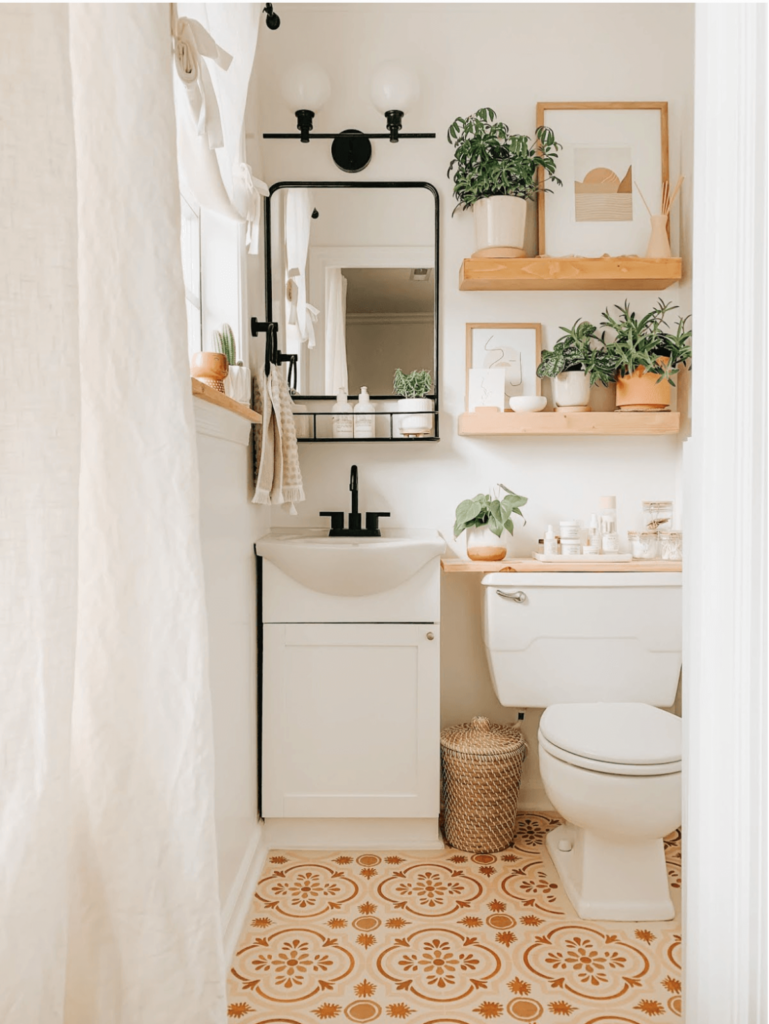
Just like the rest of a studio apartment, vertical storage is key in the bathroom.
Renter-friendly vertical storage ideas I use:
- Shelves above the toilet
- Slim wall-mounted organizers
- Hanging shower caddies
- Adhesive hooks for towels and robes
These additions create storage without making the bathroom feel crowded or permanent.
In a small bathroom, storage should blend in—not stand out.
What works well:
- Floating vanity instead of a bulky cabinet
- Matching containers for toiletries
- Neutral baskets for towels or supplies
Keeping everything visually consistent makes the bathroom feel organized, even when it’s full.
If you take one or two things from each section, you definitely save a lot of space and set your tiny studio apartment Ideally as practical as my.
Note.. Design your layout around how you live, not how the space looks online.
Share With Others If You Like..Thanks For Visiting Hope You Get What You Are Visiting For….